
Tyvek is a durable, water-resistant barrier essential for protecting buildings from moisture. This guide provides step-by-step instructions for installing Tyvek effectively, ensuring airtight and weatherproof construction.
Overview of Tyvek and Its Importance in Construction
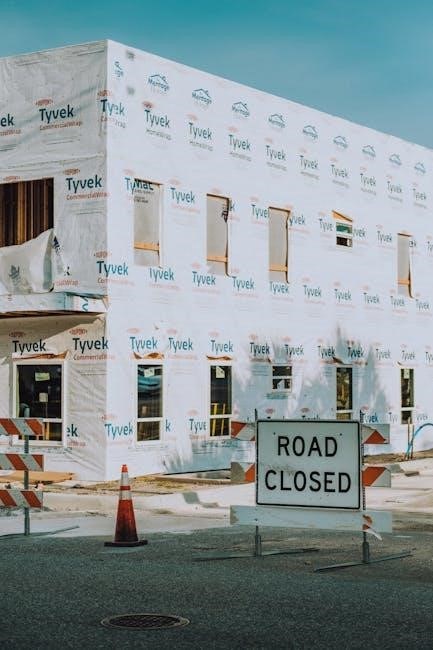
Tyvek is a high-performance, water-resistive barrier designed to protect buildings from moisture intrusion. Developed by DuPont, it is a critical component in modern construction, ensuring durable, airtight, and energy-efficient building envelopes. Tyvek’s unique material prevents water penetration while allowing vapor to escape, safeguarding structural integrity and enhancing thermal performance. Its versatility makes it essential for various construction projects, from residential to commercial applications.
Understanding the Purpose of a Water-Resistive Barrier
A water-resistive barrier (WRB) like Tyvek prevents water infiltration into walls, protecting the structure from moisture damage. It ensures airtightness, reduces thermal bridging, and enhances energy efficiency. By allowing vapor to escape, it prevents mold and mildew, ensuring a durable and healthy building envelope. Proper installation is crucial to maintain its effectiveness and ensure long-term performance in various climate conditions.

Preparation for Tyvek Installation
Ensure the site is ready with necessary materials like nails, utility knives, and Tyvek tape. Verify wall construction completeness before starting the installation process.
Site Preparation and Material Requirements
Ensure the site is ready with all necessary tools and materials. Essential items include Tyvek rolls, nails, utility knives, and Tyvek tape. Verify that walls are structurally sound and free from debris. Check for any gaps or damage that need repair before installation. Proper site preparation ensures a smooth and effective Tyvek installation process, adhering to manufacturer guidelines for optimal results.
Ensuring Proper Wall Construction Before Tyvek Installation
Before installing Tyvek, ensure walls are structurally sound, dry, and free from gaps or cracks. Verify that studs are aligned and surfaces are clean. Address any necessary repairs to prevent moisture infiltration. Proper wall construction ensures a tight, even fit for Tyvek, promoting effective water resistance and long-term durability. A well-prepared wall surface is critical for a successful installation.
Step-by-Step Installation Process
Start at the bottom, ensuring proper shingling. Unroll and cut Tyvek to fit, then secure it tightly with nails every 12 inches. This creates a seamless barrier.
Starting at the Bottom for Proper Shingling
Begin Tyvek installation at the bottom of the wall to ensure proper shingling, which is critical for water shedding and preventing moisture infiltration. Align the first course of Tyvek with the foundation or sill plate, maintaining a slight overlap at corners and edges. This method guarantees a continuous, impenetrable barrier, as water will naturally flow downward without seeping into the wall system. Proper shingling is foundational to the entire installation’s success.
Unrolling and Cutting Tyvek to Fit Wall Dimensions
Unroll Tyvek along the wall, aligning it with studs. Measure and cut the material to match the wall height, using a utility knife or saw. Ensure cuts are precise to avoid waste. After unrolling, cover window and door openings temporarily with excess material, then cut them out neatly. Proper sizing ensures a snug fit, preventing wrinkles and gaps that could compromise the water-resistive barrier’s effectiveness.
Securing Tyvek with Nails and Ensuring Tight Fit
Secure Tyvek with nails spaced 12 inches apart along studs, ensuring a tight fit. Avoid overstretching the material, as this can lead to tears. Nails should penetrate the stud without causing excessive dimpling. Check for wrinkles or sagging, tightening as needed. A snug installation prevents water infiltration and ensures the barrier performs effectively. Proper nailing and tension are critical for long-term durability and weather resistance.
Integration with Windows and Doors
Tyvek seamlessly integrates with windows and doors using FlexWrap and aprons, ensuring proper sealing and moisture protection. This ensures airtight and weatherproof installation around openings.
Installing Tyvek Around Windows and Doors
Proper installation around windows and doors is crucial for ensuring a weatherproof seal. Start by positioning Tyvek to cover the opening, then cut it neatly around the perimeter. Use a utility knife for precise cuts and seal any gaps with Tyvek tape. Ensure the material fits tightly without wrinkles to maintain integrity. For curved areas, FlexWrap can be applied for a seamless finish, preventing moisture infiltration.
Using FlexWrap and Aprons for Seamless Integration
FlexWrap and aprons are essential for creating smooth transitions around windows, doors, and other openings. Apply FlexWrap around curved areas to ensure a tight, watertight seal. Aprons are placed beneath windows to direct water away from the wall. These components integrate seamlessly with Tyvek, maintaining the integrity of the water-resistive barrier. Proper installation ensures moisture cannot penetrate, safeguarding the building envelope from water damage.
Flashing Systems and Additional Components
Flashing systems and additional components are crucial for ensuring watertight seals around windows, doors, and other openings. Proper installation techniques and materials enhance the effectiveness of Tyvek barriers, preventing water infiltration and structural damage.
Flashing Preparation and Installation Guidelines
Proper flashing preparation ensures a watertight seal around windows, doors, and other openings. Start by cleaning surfaces and aligning flashing materials with the Tyvek barrier. Use DuPont FlexWrap and aprons for seamless integration, ensuring shingling aligns correctly. Secure flashing with compatible fasteners and seal laps and joints with Tyvek tape for optimal protection. Always follow manufacturer guidelines to maintain warranty and performance standards.
Ensuring Proper Sealing with Tyvek Tape
Tyvek tape is crucial for creating airtight and moisture-resistant seals. Apply it to all edges, joints, and seams, ensuring tight adhesion. Use it around windows, doors, and flashing systems to prevent water infiltration. Cut the tape to size and press firmly to eliminate air pockets. Proper sealing with Tyvek tape ensures long-term durability and protects the building envelope from environmental factors.

Specialized Installation Scenarios
Tyvek installation requires special techniques for modular construction, EIFS cladding, and unique structures like archways and breezeways, ensuring proper sealing and weather protection in complex designs.
Modular Construction and EIFS Cladding Considerations
In modular construction, Tyvek must be applied before modules are assembled, ensuring continuous protection. For EIFS cladding, Tyvek should be installed with a clear air space to enhance thermal performance and prevent moisture buildup. Proper integration with flashing systems is crucial to maintain airtightness and weather resistance in these specialized applications.
Installing Tyvek in Archways and Breezeways
When installing Tyvek in archways and breezeways, start at the bottom to ensure proper shingling. Cut Tyvek to fit irregular shapes, securing with nails every 12 inches. Use Tyvek FlexWrap NF for curved areas and seal edges with Tyvek tape for airtightness. Overlaps should be at least 6 inches, and additional fasteners may be needed for stability in these unique architectural features.
Tools and Materials Needed
Essential tools and materials for Tyvek installation include utility knives, staple guns, and measuring tapes. Use Tyvek tape for sealing edges and FlexWrap for detailing.
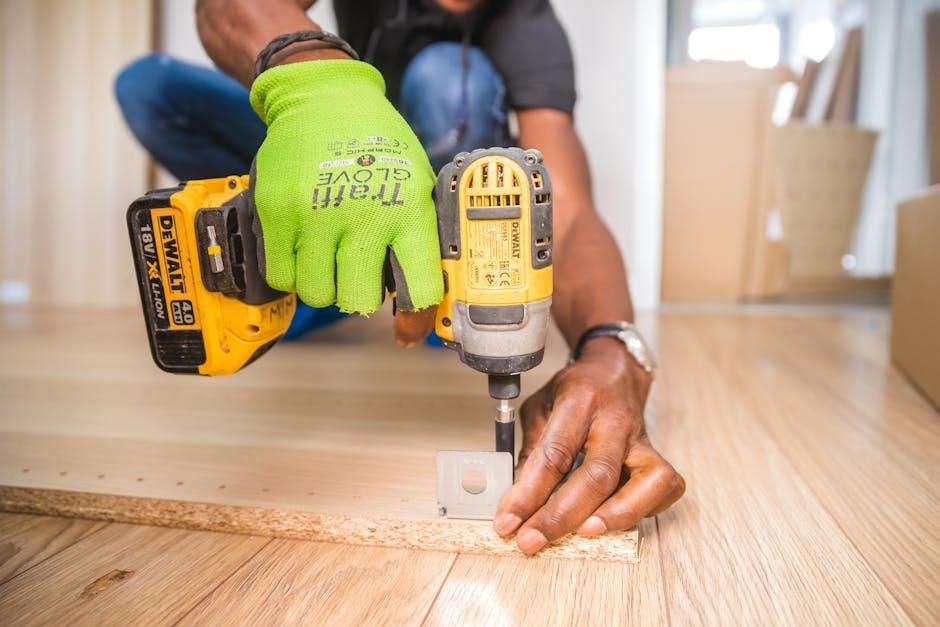
Essential Tools for a Successful Installation
- Utility knife for cutting Tyvek to size.
- Staple gun to secure Tyvek tightly to walls.
- Measuring tape for accurate fitting and alignment.
- Tyvek tape to seal seams and edges effectively.
Recommended Materials for Optimal Results
Use DuPont Tyvek HomeWrap for residential projects, Tyvek StuccoWrap for stucco applications, and Tyvek CommercialWrap for larger buildings. Ensure compatibility with Tyvek FlexWrap for flashing and Tyvek Tape for sealing seams. These materials provide durability and ensure a weather-tight barrier, essential for long-term protection against moisture and weather conditions.
Timing and Conditions for Installation
Install Tyvek on constructed walls and after roof sheathing. Avoid installation during rain or direct sunlight. Ideal conditions are dry weather with moderate temperatures for optimal adhesion.
Ideal Time to Install Tyvek
The optimal time to install Tyvek is after wall construction and roof sheathing are complete. This ensures proper integration with other building components. Avoid installing during rain or extreme weather conditions. For best results, apply Tyvek in dry, moderate temperatures to ensure tight sealing and prevent material shrinkage or stretching. Proper timing enhances durability and performance.
Environmental Factors to Consider
Weather conditions significantly impact Tyvek installation. High winds can make unrolling difficult, while rain or moisture compromises adhesion. Extreme temperatures may cause material shrinkage or stretching. Ideal conditions are dry, moderate weather with temperatures between 40°F and 90°F (4°C and 32°C). Avoid installation in direct sunlight for prolonged periods, as it may degrade the material over time. Ensure the surface is clean and free of contaminants for optimal results.
Compliance and Best Practices
Compliance with manufacturer guidelines and industry standards is crucial. Best practices include sealing all edges and joints with Tyvek tape for optimal performance.
Following Manufacturer Guidelines
Compliance with DuPont Tyvek installation guidelines is essential for optimal performance. Adhering to ICC-ES evaluation reports ensures proper water-resistive barrier functionality. Specific products like Tyvek HomeWrap require precise techniques to maintain continuity and prevent moisture infiltration. Deviating from manufacturer instructions can compromise the integrity of the building envelope. Following these guidelines ensures durability, weather resistance, and long-term protection for the structure.
Industry Standards for Tyvek Installation
Adherence to industry standards like ICC-ES reports and ASTM guidelines is critical for Tyvek installation. These standards ensure proper water-resistive barrier performance and compliance with building codes. Tyvek products must be installed according to specific techniques outlined in ICC-ES Legacy Report 95105D. Failure to meet these standards can result in compromised weather protection and potential loss of certification. Proper installation ensures long-term durability and structural integrity.