Welcome to this beginner-friendly guide on creating a practical and stylish zipper pouch! Perfect for organizing essentials, this DIY project is quick, easy, and customizable, using scrap fabric and a simple zipper. Ideal for gifts or personal use, it’s a great way to enhance your sewing skills while making something truly useful.
Overview of the Project
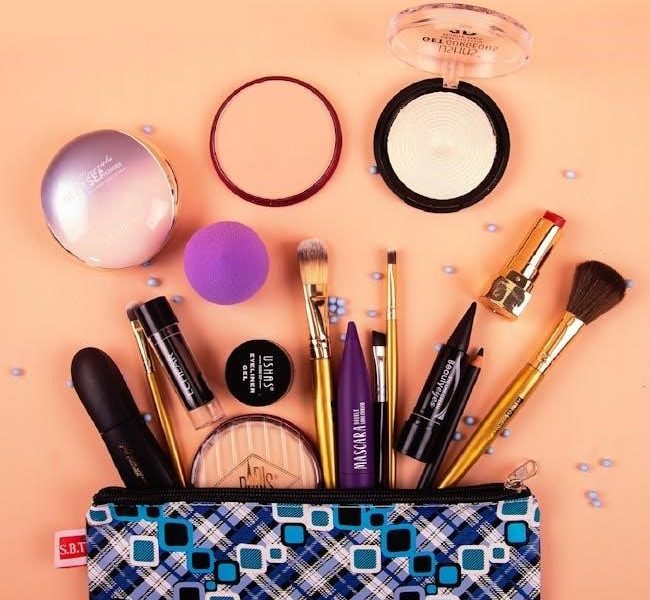
This project involves creating a lined zipper pouch, perfect for beginners. It requires basic sewing skills, scrap fabric, and a zipper. You’ll learn to work with zippers, sew lining, and customize the design. The pouch is ideal for organizing small items like makeup, electronics, or travel essentials, offering a practical and stylish storage solution.
Why Make a Zipper Pouch?
A zipper pouch is a versatile and practical project, perfect for organizing small items like cosmetics, cables, or keys. It’s a great way to use scrap fabric, learn essential sewing skills, and create personalized gifts. The pouch is both functional and customizable, making it a rewarding project for sewists of all levels.
Skills You Will Learn
Master the basics of zipper installation, sewing lined pouches, and working with various fabrics. Learn to create professional seams, add boxed corners for a polished look, and customize your pouch with embroidery or appliqué. These skills will enhance your sewing confidence and open up endless possibilities for creative projects.
Gathering Materials and Supplies
Collect fabric for the outer pouch and lining, a zipper, sewing machine, scissors, pins, and measuring tools. Optional items include embroidery floss for decoration or an iron for pressing seams.
Essential Fabrics for the Pouch
Use quilting cotton for a lightweight, beginner-friendly option, or canvas/twill for durability. Leather adds a stylish touch, though it may require a lining. Choose fabrics that complement your zipper and personal style, ensuring they align properly if using directional prints for a polished finish.
Choosing the Right Zipper
Select a zipper that matches your pouch size and style. Opt for a zipper length slightly longer than your fabric width for seam allowances. Choose between nylon or metal zippers based on durability and aesthetic preferences. Ensure the zipper’s width complements your fabric thickness. Using zipper tabs can enhance the finish and prevent bulk at the ends.
Other Necessary Tools and Notions
Beyond fabric and zippers, essential tools include a sewing machine, sharp scissors, rotary cutter, and mat for precise cuts. Use a ruler for accurate measurements and straight pins to secure fabric. Thread, seam ripper, and iron with a pressing board ensure professional finishes. Organize these tools beforehand for a smooth sewing experience.
Preparing Your Fabric and Zipper
Wash, dry, and iron your fabric to ensure a smooth finish. Cut fabric pieces according to your zipper length, ensuring proper alignment. Prepare your zipper by trimming excess tape and centering it for sewing.
Measuring and Cutting Fabric Pieces
Measure your fabric based on the zipper length, adding a 1/2-inch seam allowance. Cut two main fabric pieces and two lining pieces to match. Ensure accuracy by using a rotary cutter or scissors, and double-check measurements before cutting to avoid errors. This step ensures your pouch fits perfectly around the zipper.
Ironing and Readying the Fabric
Wash, dry, and iron your fabric to remove wrinkles and shrinkage. Accurately cut fabric pieces using a rotary cutter or scissors, ensuring precise measurements. Ironing ensures a smooth sewing process, while accurate cutting guarantees a professional finish. This step is crucial for achieving clean seams and a well-shaped pouch that fits perfectly around the zipper.
Preparing the Zipper for Sewing
Align the zipper correctly, ensuring the teeth face downward. Use a zipper foot for precise sewing. Place the zipper between fabric pieces, centering it for symmetry. Secure with pins or clips. Sew slowly, guiding the fabric smoothly. This step ensures a neat, professional finish and prevents the zipper from shifting during assembly.

Sewing the Zipper Pouch Body
Sew the pouch body by placing fabric pieces right sides together, aligning edges. Sew sides and bottom with a 1/2-inch seam, using a zipper foot for accuracy.
Aligning the Fabric Pieces
Place the outer and lining fabrics right sides together, ensuring edges align perfectly. Position the zipper along the top edge, centered. If using directional fabric, double-check the pattern alignment. Secure with pins or clips to maintain accuracy during sewing, ensuring a professional finish and proper functionality of the pouch.
Sewing the Sides and Bottom
With the fabric pieces aligned, sew the sides and bottom using a 1/2-inch seam allowance. Ensure the zipper is centered and secure. Leave a small opening at the bottom for turning the pouch right side out. Backstitch at the start and end for durability, creating a sturdy and professional-looking seam.
Pressing the Seams for a Professional Finish
Press the seams flat with a hot iron and steam to create a crisp, professional finish. Iron the seams on both sides, ensuring they lie flat. Topstitch along the edges for a polished look. This step enhances durability and gives the pouch a clean, tailored appearance, making it look store-bought rather than homemade.
Adding a Lining to the Pouch
A lining adds durability and a polished look to your zipper pouch. Sew the lining pieces together, leaving a small opening to turn it right side out, then attach it to the outer fabric for a professional finish.
Why a Lining is Important
A lining ensures the pouch is sturdy and prevents fraying. It hides seams, adds structure, and protects contents from dust. The lining also enhances aesthetics, allowing for decorative fabric choices. It’s essential for a polished, professional finish and extends the pouch’s durability, making it more functional and visually appealing for everyday use or gifts.
Sewing the Lining Together
Align the lining pieces with right sides together, ensuring edges match. Sew around the perimeter using a 1/2-inch seam allowance, leaving a small opening to turn the pouch right side out. This step creates a clean interior and prepares the lining for attachment to the outer fabric, ensuring a polished finish.
Attaching the Lining to the Outer Fabric
Place the outer fabric and lining right sides together, ensuring edges align. Sew around the perimeter with a 1/2-inch seam allowance, leaving the zipper area open. Press seams flat for a crisp finish. This step securely combines both layers, creating a cohesive and professional-looking pouch ready for turning right side out.
Adding Zipper Tabs for a Clean Finish
Zipper tabs add a polished look by covering raw edges. Sew small fabric scraps to the zipper ends, folding them under for a neat, professional finish.
What Are Zipper Tabs?
Zipper tabs are small fabric pieces sewn over the zipper ends, concealing raw edges and providing a clean finish. They enhance the pouch’s appearance and prevent fraying, offering both functionality and style while ensuring a professional look in your DIY project.
Sewing and Attaching Zipper Tabs
To attach zipper tabs, cut small fabric squares and fold them over the zipper ends. Sew in place with a 1/4-inch seam, ensuring they align neatly. This step adds a polished touch, preventing fraying and giving your pouch a professional finish. It’s a simple detail that elevates the overall quality of your DIY project.

Creating Boxed Corners for a Professional Look

Boxed corners add a structured shape and professional finish to your pouch. Sew across the corners at a 90-degree angle, then trim excess fabric for a clean, polished result.
What Are Boxed Corners?
Boxed corners are a design feature that adds structure and a professional finish to your zipper pouch. They involve sewing the corners at a 90-degree angle to create a square or rectangular shape, making the pouch more spacious and visually appealing. This technique is especially useful for beginners to enhance their sewing projects.
Sewing the Boxed Corners
To sew boxed corners, align the sides of the pouch and mark the desired corner depth. Sew across the corner at a 90-degree angle, then trim excess fabric for a clean finish. This simple step adds structure and a professional touch to your zipper pouch, making it both functional and visually appealing.

Customization Options
Elevate your zipper pouch by adding embroidery, appliqué, or unique fabric patterns. Mix and match colors, textures, and designs to create a personalized accessory that reflects your style.
Adding Embroidery or Appliqué
Add a personal touch with embroidery or appliqué. Use embroidery floss for intricate designs or iron-on appliqué for quick embellishments. This step allows for creativity, making your pouch truly unique and visually appealing.
Using Different Fabric Patterns and Colors
Personalize your zipper pouch by experimenting with fabric patterns and colors. Mix bold prints with solids for contrast or use coordinating hues for a cohesive look. Quilting cotton, canvas, or even leather can add texture and style, making your pouch unique and visually appealing while showcasing your creativity.

Beginner Tips and Tricks
Mastering zipper installation is key! Use a zipper foot or zig-zag setting for smooth sewing. Align fabrics carefully, ensure seams are pressed, and don’t rush—precision pays off for a professional finish.
Mastering the Zipper Installation
For a flawless zipper installation, start by aligning the zipper tape with the fabric edges precisely. Use a zipper foot to sew close to the teeth without catching fabric. Backstitch at the beginning and end for durability. Ensure the zipper is centered and lies flat, then topstitch for a polished look that enhances the pouch’s professionalism.
Avoiding Common Mistakes
Common errors include misaligning fabric pieces and not using a zipper foot, which can cause uneven stitching. Ensure fabric stays taut while sewing to prevent bunching. Backstitch at the start and end of seams for durability. Avoid stretching the zipper tape during installation, as it may distort the pouch shape. Double-check measurements and pin thoroughly to maintain accuracy for a professional finish.
Congratulations! You’ve successfully created a functional and stylish zipper pouch. Use it for organizing essentials, as a gift, or experiment with new fabrics and sizes for variety. Happy sewing!
Finishing Your Zipper Pouch
Your zipper pouch is nearly complete! Trim any loose threads and ensure the zipper glides smoothly. For a polished look, consider adding decorative elements like embroidery or appliqué. Inspect all seams for quality and durability. Once satisfied, your pouch is ready to use or gift. Enjoy your handmade creation!
Ideas for Using Your Newly Made Pouch
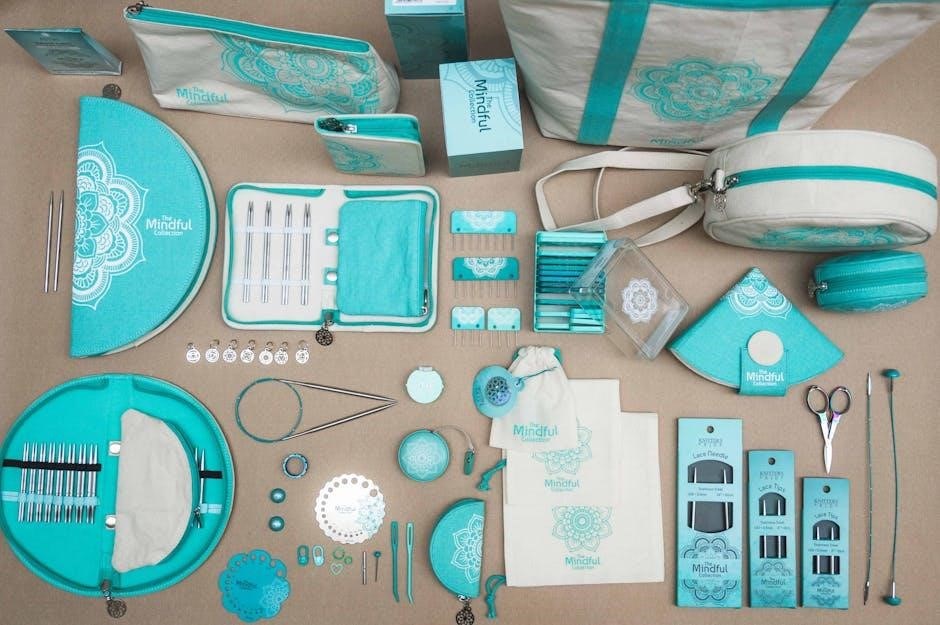
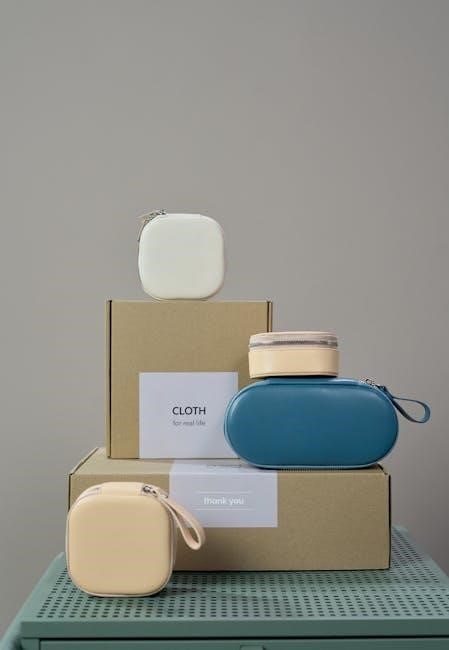
Your zipper pouch is incredibly versatile, making it perfect for organizing your daily essentials. Use it for makeup, toiletries, tech accessories, or crafting supplies. It’s also a great travel companion for keeping small items tidy. Additionally, it makes a thoughtful gift for friends and family, helping them stay organized in style.
Whether for personal use or as a gift, this pouch is not only stylish but also a practical way to keep your belongings organized and clutter-free. Its compact size and customizable design ensure it fits seamlessly into any lifestyle, making it a must-have accessory for everyday life.