Welcome to the Honeywell TH5220D1029 installation manual. This comprehensive guide provides step-by-step instructions, wiring diagrams, and troubleshooting tips for a successful setup. Available as a downloadable PDF.
1.1 Overview of the Manual and Its Importance
The Honeywell TH5220D1029 installation manual is a comprehensive guide designed to assist users through the installation process. Available as a downloadable PDF, it ensures easy access to detailed instructions, wiring diagrams, and troubleshooting tips. This manual is essential for a successful setup, providing clear steps to configure the thermostat according to the HVAC system requirements. By following the manual, users can ensure optimal performance and avoid potential issues during installation. Proper use of this guide also ensures safety and compliance with manufacturer recommendations.
1.2 Key Features of the Honeywell TH5220D1029 Thermostat
The Honeywell TH5220D1029 is a non-programmable digital thermostat offering precise temperature control. It features an easy-to-read display and straightforward interface. Designed for compatibility with various HVAC systems, including heat pumps and conventional systems, it ensures flexible installation options. The thermostat also includes advanced functions like auto-changeover and manual changeover modes, allowing users to customize heating and cooling operations. Its universal design makes it suitable for both residential and light commercial applications, providing reliable performance and energy efficiency.
System Compatibility and Requirements
This section helps users verify their HVAC system’s compatibility and understand the installation requirements for the Honeywell TH5220D1029 thermostat, ensuring a proper setup.
2;1 Checking System Compatibility Before Installation
Before installing the Honeywell TH5220D1029, ensure your HVAC system is compatible. Verify the system type (heat/cool), voltage, and stage capability. Check if the thermostat supports your system’s specific features, such as multi-stage heating or cooling. Refer to the manual for detailed compatibility charts and ratings. Proper system matching ensures safe and efficient operation. Incorrect settings may lead to malfunction or damage. Always consult the installation guide for specific model requirements and configuration steps to confirm compatibility.
2.2 Understanding the Heating and Cooling System Requirements
Understand your HVAC system’s requirements to ensure proper thermostat operation. Verify the system type (heat pump, gas furnace, etc.), voltage (24V), and stage capability (single or multi-stage). Check if the system supports auxiliary heat or emergency heat. Ensure the thermostat is compatible with your system’s specific features, such as two-speed compressors or variable-speed fans. Refer to the manual for system type settings (Function 1) and changeover modes (Function 12). Correct settings prevent issues like compressor damage or inefficient operation. Always match the thermostat configuration to your HVAC system’s specifications for optimal performance.
Tools and Materials Needed for Installation
Gather essential tools like screwdrivers, pliers, and a voltage tester. Ensure materials like wall anchors and wires are ready for a smooth installation process.
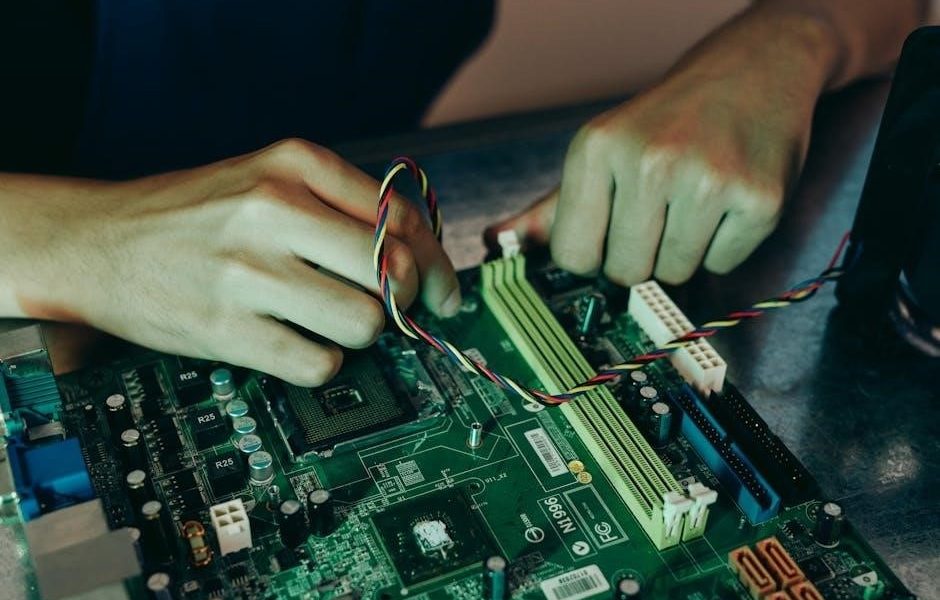
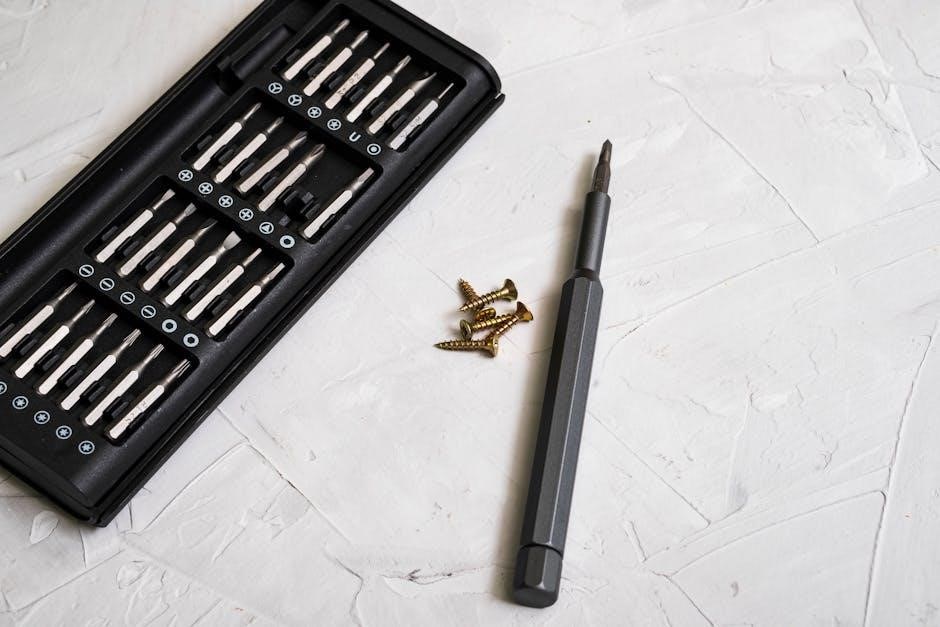
3.1 Essential Tools Required for the Installation Process
The installation of the Honeywell TH5220D1029 thermostat requires specific tools to ensure a smooth process. Essential tools include a screwdriver (both Phillips and flathead), pliers for wire stripping, a voltage tester to verify power levels, and a drill with appropriate bits for wall mounting. Additionally, wire nuts or connectors may be necessary for secure wiring connections. Ensure all tools are readily available to avoid delays. Refer to the manual for a detailed list of tools and materials needed for the setup. Proper preparation ensures efficiency and safety during installation.
3.2 Additional Materials Needed for a Successful Setup
Beyond the essential tools, ensure you have a wall plate and screws for mounting the thermostat. Drywall anchors may be necessary if the wall lacks studs. Additional materials include wire connectors or nuts for secure wiring, a level to ensure proper alignment, and a pencil for marking drill holes. For systems requiring extra support, adhesive-backed foam or additional mounting hardware may be needed. These materials ensure a stable and secure installation, preventing potential damage or misalignment.

Pre-Installation Steps and Preparation
Before installing the Honeywell TH5220D1029, ensure the HVAC system is powered off and the thermostat is prepared. Follow safety guidelines and component checks for a smooth process.
4.1 Turning Off the Power Supply to the HVAC System
Before starting the installation, ensure the HVAC system’s power supply is completely turned off. Locate the circuit breaker or switch controlling the system and switch it to the “off” position. Verify that all components, including the thermostat, are powered down to prevent electrical shocks or damage. Use a voltage tester to confirm there is no residual power. Failure to disconnect the power supply can lead to hazardous conditions or damage to the system. Always follow safety guidelines to avoid accidents during the installation process.
4.2 Preparing the Thermostat and Its Components
Begin by carefully unpacking the Honeywell TH5220D1029 thermostat and its components. Verify that all parts, including the wall plate, wiring connectors, and screws, are included. Remove any protective covering from the thermostat and wall plate. Ensure the wall plate is properly aligned and level for accurate temperature sensing. Label the existing wires according to the manual’s guidelines to facilitate a smooth connection process. Prepare the thermostat by setting it to the “Off” mode to prevent accidental activation during installation. Organize all components within easy reach to streamline the process.
Step-by-Step Installation Process
This section provides a detailed, step-by-step guide for installing the Honeywell TH5220D1029 thermostat, including mounting, wiring, and configuring settings for optimal performance.
5.1 Mounting the Thermostat on the Wall
Mount the Honeywell TH5220D1029 thermostat at approximately 5 feet above the floor in an area with good air circulation. Separate the thermostat from the wall plate. Level the wall plate and mark screw locations. Drill pilot holes if necessary, insert wall anchors, and secure the wall plate with screws. Reattach the thermostat to the wall plate, ensuring a snug fit. Double-check alignment and security to ensure proper functionality. Follow these steps carefully for accurate installation and optimal performance.
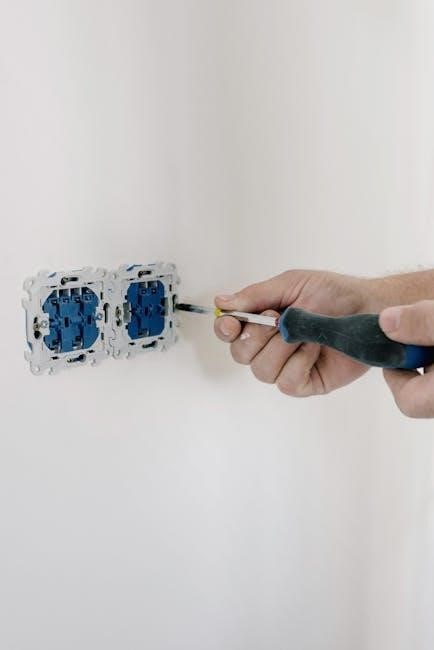
5.2 Connecting the Wiring to the Thermostat
Before connecting wiring, ensure the power to the HVAC system is off. Use the provided wiring labels to identify and connect each wire to the appropriate terminal on the thermostat. Match the wires according to your system’s configuration, such as R, W, Y, G, and C terminals. Refer to the wiring diagram in the manual for accuracy. After connecting, verify that all wires are securely attached and no terminals are loose. Turn the power back on and test the system to ensure proper functionality. This step is critical for safe and efficient operation.
5.3 Configuring the Installer Settings for Optimal Performance
Access the Installer Setup menu to configure settings that optimize performance. Set Function 1 to match your system type (e.g;, heat pump or furnace). Adjust Function 12 to choose between Manual or AutoChangeover modes. Ensure these settings align with your HVAC system’s capabilities to prevent damage or inefficiency. Refer to the manual for detailed instructions on each function and its purpose. Proper configuration ensures reliable operation and avoids potential system malfunctions. Always follow the guidelines provided to customize settings accurately.

Post-Installation Configuration and Settings
After installation, configure the thermostat to customize settings. Adjust temperature ranges, scheduling, and system preferences to optimize performance and energy efficiency. Ensure all features align with your HVAC system’s specifications.
6.1 Setting Up the Thermostat for Your HVAC System
Setting up the thermostat involves configuring it to match your HVAC system. Ensure the system type matches your equipment, such as heat pump or gas furnace. Adjust settings like temperature range and fan operation. Refer to the manual for specific configurations. Proper setup ensures optimal performance and energy efficiency. Use the installer setup functions to customize features; Ensure all configurations align with your system’s requirements. This step is crucial for seamless operation.
6.2 Adjusting the Installer Setup Functions for Customization
Adjust the installer setup functions to customize thermostat operation. Set Function 1 for system type (e.g., heat pump or gas furnace). Choose between manual or auto changeover modes in Function 12. Configure temperature differential and fan settings as needed. Refer to the manual for detailed instructions. Proper customization ensures the thermostat works efficiently with your HVAC system. Troubleshoot any issues by checking error codes or wiring connections. These adjustments optimize performance and comfort, tailored to your specific setup. Follow the guide for precise configurations.
Troubleshooting Common Installation Issues
Identify and resolve wiring issues or error codes. Check Function 1 for system type and Function 12 for manual or auto changeover settings. Consult the manual for detailed troubleshooting steps to ensure proper operation and address any system malfunctions promptly. Regular checks help maintain functionality and prevent potential issues. Always refer to the guide for specific solutions and safety precautions.
7.1 Identifying and Resolving Wiring Issues
Ensure proper wiring connections to avoid system malfunctions. Check Installer Setup functions, such as Function 1 (System Type) and Function 12 (System Setting), to confirm correct configuration. Verify all wires are securely connected to the appropriate terminals. Loose connections or incorrect wire assignments can cause errors. Consult the wiring diagram in the manual for guidance. If issues persist, test the system step-by-step to isolate the problem. Always refer to the troubleshooting section for specific solutions and safety precautions to prevent damage or hazardous conditions. Proper wiring is essential for optimal performance.
7.2 Addressing Common Error Codes and System Malfunctions
Understand and resolve error codes promptly to ensure system efficiency. Refer to the manual for specific error code meanings and solutions. Replace batteries annually if the display dims or malfunctions. Check Installer Setup functions, such as Function 1 (System Type) and Function 12 (System Setting), to ensure correct configuration. Verify system compatibility and wiring connections. If issues persist, consult the troubleshooting section for step-by-step solutions. Always follow safety guidelines to prevent compressor damage or hazardous conditions. Regular maintenance and proper setup are key to avoiding malfunctions.
Maintenance and Upkeep of the Thermostat
Regularly clean and inspect the thermostat to ensure optimal performance. Replace batteries annually to maintain functionality; Check the display for clarity and address any dimming issues promptly.
8.1 Cleaning and Inspecting the Thermostat Regularly
Regular maintenance ensures the Honeywell TH5220D1029 thermostat operates efficiently. Clean the device with a soft cloth and avoid harsh chemicals. Inspect the display for clarity and check wiring connections for damage. Replace batteries annually to prevent power issues. Turn off the power supply before cleaning to avoid damage. Regular inspections help identify potential issues early, ensuring reliable performance and extending the thermostat’s lifespan. Follow these steps to maintain optimal functionality and user experience.
8.2 Replacing Batteries and Ensuring Proper Functionality
Replace the Honeywell TH5220D1029 thermostat batteries annually or when the battery icon appears. Turn off the power supply before replacing. Use AA alkaline batteries, inserting them correctly to ensure proper polarity. After replacing, restore power and verify functionality. Neglecting battery replacement can cause malfunctions or display issues. Always use recommended battery types to avoid damage. Regular battery checks ensure uninterrupted operation and maintain accurate temperature control, keeping your HVAC system running smoothly and efficiently year-round.
Verify the Honeywell TH5220D1029 thermostat operates correctly, ensuring all settings match your HVAC system. Double-check wiring connections and safety precautions. Refer to the manual for future troubleshooting and maintenance.
9.1 Verifying the Thermostat’s Proper Operation
After installation, ensure the Honeywell TH5220D1029 thermostat operates correctly. Check that the system type settings match your HVAC equipment and verify the thermostat displays the correct heating or cooling mode. Test the system by adjusting the temperature to confirm smooth operation. Ensure there are no error messages and that all features function as expected. Finally, confirm that the thermostat maintains the set temperature accurately and efficiently, ensuring a comfortable environment.
9.2 Ensuring All Safety Precautions Are Followed
Always follow safety guidelines to prevent hazards. Turn off the HVAC system’s power supply before any maintenance or adjustments. Ensure the thermostat is installed correctly to avoid system damage. Never operate the cooling system when outdoor temperatures are below 50°F (10°C) to prevent compressor damage. Adhere to the manufacturer’s instructions and local safety standards. If unsure, consult a trained professional for assistance. Proper installation and operation ensure safe and efficient performance of your Honeywell TH5220D1029 thermostat.